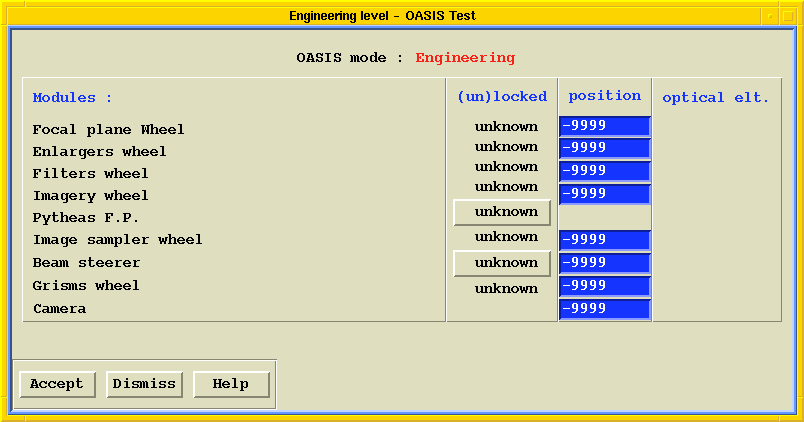
The status of the nine OASIS modules is displayed, allowing to check the physical positions of the optical elements and the correct locking of the rotating devices (Focal plane, Enlarger, Imagery, Image sampler and Grism). The Update button forces the display update. You can select what optical element should be moved in the beam by giving the position number of this element in corresponding the blue entry field.
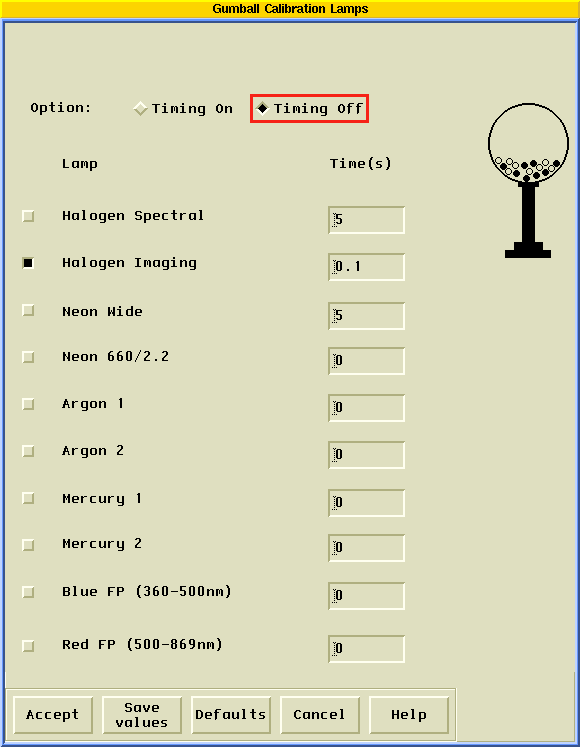
This window can be used to configure the Gumball:
- Timing Options : If "Timing Off" is selected, one or several lamp(s) can be chosen. The exposure time is settled by the CCD shutter. When "timing on" is activated, an individual exposure time can be entered for each lamp selected. the lamps will all be turned on first and turned off sequentially during the integration according to the exposure time specified.
- Lamps and Time(s) : Ten different sources can be selected, including two Fabry-Perot etalons to obtain channel spectra. When timing is required, individual exposure time can be entered for each lamp.

This windows allows to take four different exposure types through the OASIS configuration defined from the engineering mode : Bias, Dark, Object, Gumball . A name has to be entered as well as an integration time and a CCD raster.
Six of OASIS modules maybe set up via this function. This will update the database describing the curent opto-mechanical configuration. This is the place where the control software finds informations such as : "position 1 of enlarger wheel is presently occupied by a 3mm focal length enlarger". The files involved are described in the OASIS technical documentation.
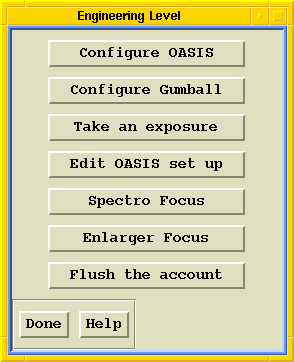
In the window available under this button, six sub functions may be accessed, which will control all the modules :
- Focal plane
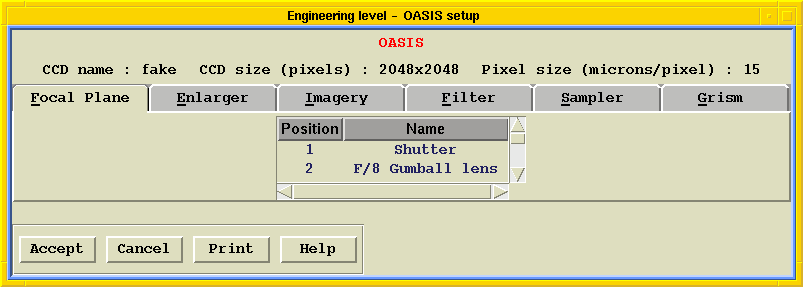
Select a position, then develop the pull-down menu by clicking on the down arrow icon at the left, and chose the new element which will replace the current one in this position. This should not happen : moving around enlargers on the wheel means re-balancing the wheel, which in turn means uninstalling the wheel from OASIS. Note that, for mechanical reasons, the shutter cannot be moved around the wheel, and must stay in position 1. Do not forget to keap at least one free aperture !
- Enlarger
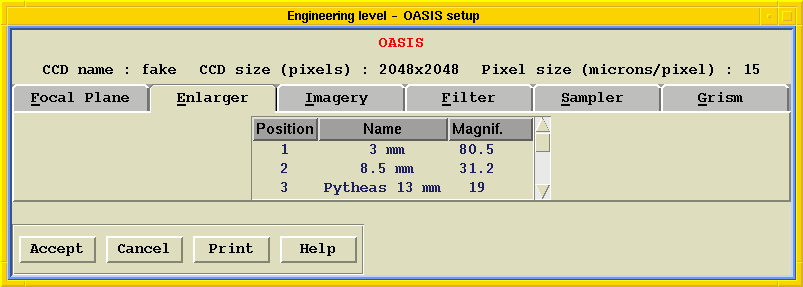
Select a position, then develop the pull-down menu by clicking on the down arrow icon at the left, and chose the new enlarger which will replace the current one in this position. This should not happen : moving around enlargers on the wheel means re-balancing the wheel, which in turn means uninstalling the wheel from OASIS. On this point, see the paper OASIS technical documentation. Do not forget to keep at least one free aperture !
- Imagery
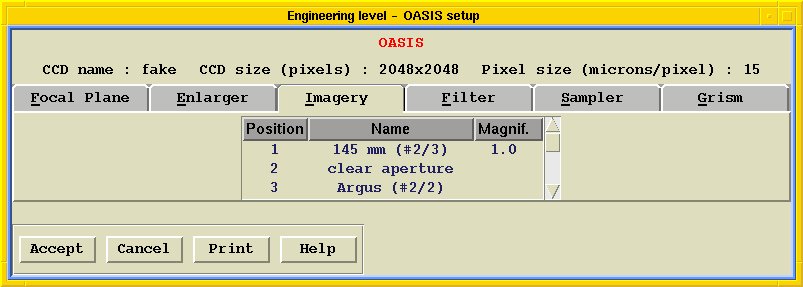
Select a position, then develop the pull-down menu by clicking on the down arrow icon at the left, and chose the new imagery enlarger which will replace the current one in this position. This should not happen : moving around enlargers on the wheel means re-balancing the wheel, which in turn means uninstalling the wheel from OASIS. On this point, see the paper OASIS technical documentation. Do not forget to keep at least one free aperture !
- Filter

Select a position, then develop the pull-down menu by clicking on the down arrow icon at the left, and chose in the CFHT filter list the new filter which will replace the current one in this position :
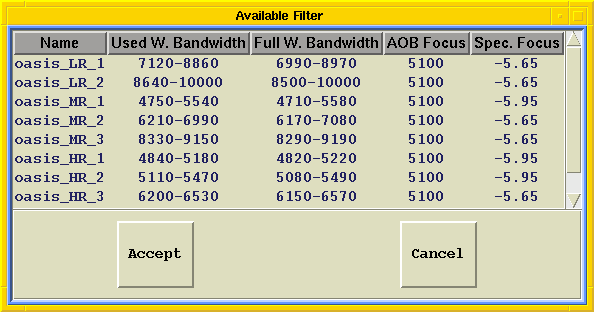
Always be careful to balance the wheel, installing filters of approximate equal weight into opposite positions (see technical documentation).
- Sampler
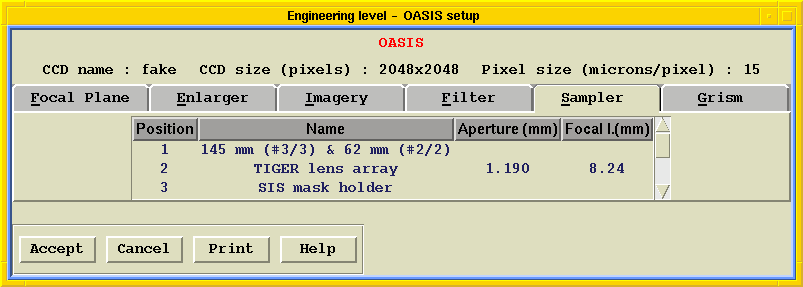
Select a position, then develop the pull-down menu by clicking on the down arrow icon at the left, and chose the new element which will replace the current one, or be installed in a previously free position. On this wheel, elements cannot be moved from one position to another, as the holes in the wheel are adapted to the sampler they were supposed to house at design time. But, for instance, a second array maybe added or a long slit or fiber bundle can be installed. Do not forget to keep at least one free aperture !
- Grism
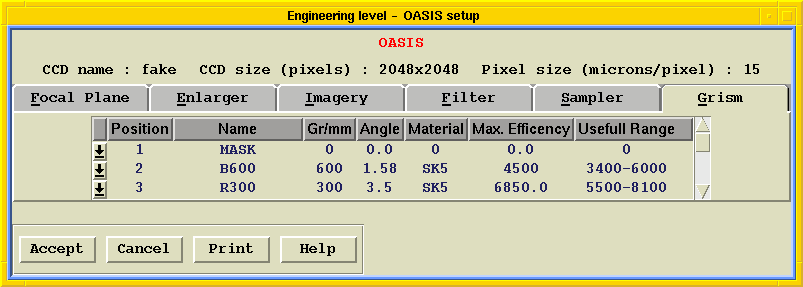
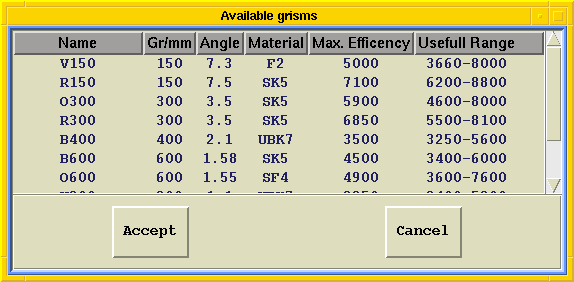
Select a position, then develop the pull-down menu by clicking on the down arrow icon at the left, and chose in the CFHT list of available grisms the new unit which will replace the current one :
Be careful to balance the grism wheel carefully before replacing the disperser box into OASIS. Do not forget to keep at least one free aperture !
